
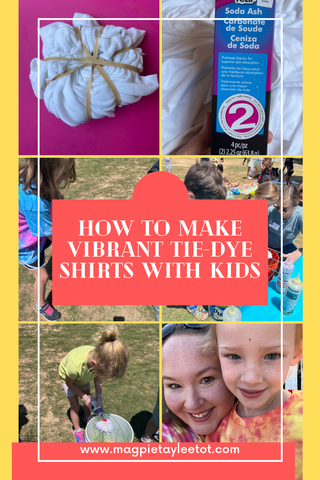
The kindergarten teachers at my daughters school decided to have a field day as an end of the year celebration, and wanted for each class to make tie dye shirts in different color combinations to wear during the field day activities. The room moms for each class were in charge of coordinating the tie dye project for each class.
Years ago my oldest daughter wanted to tie dye stuff during a sleepover. I had bought a tie dye kit and a bunch of white shirts/bags/ect for the girls to dye. I remember nothing coming out very vibrant. I knew my younger sister had brought stuff for my girls to tie dye during a recent visit and the things they made looked colorful and awesome (she is the fun aunt who always brings crafts and projects to do with my kids)! I consulted her for advice before creating my supply list.
We needed supplies to make 18 kids shirts and 3 adult shirts (The teacher and both room moms for the class). I definitely over estimated on supplies by about 25% knowing the kids were going to be making their own shirts and there might be some waste).
Here were the supplies needed:
White tshirts (each parent sent one in for their child with their name written in sharpie on the tag or neckband)
Soda Ash (I used 2 packages for our 21 shirts)
Gallon+ jug or bucket
Rubber bands (I used almost 2 full boxes)
Water
Gallon sized zip lock bags (at least 1 per shirt)
Tie dye dye (Our class was assigned red and yellow), I found it cheaper to buy the Dye Refill packs and Empty condiment squeeze bottles
5 gallon bucket
Baking rack
Child Size Disposable gloves
Prepping the Shirts
Factories that make shirts tend to have lots of dust and other contaminants, so the first step is to wash all the shirts, I threw all 21 shirts in my washer and washed them with detergent. Instead of putting them in the dryer, I moved onto the next step…wet shirts work best! My washer does a great job of spinning off any extra water, but if your shirt if your shirt is more than damp, ring out any extra liquid. You want the shirt to be slightly more than damp. 
I laid out each damp shirt one at a time. I made note of the name on the shirt and kept it on a post it note near the shirt (once they are wrapped I couldn’t tell whose was whose and I knew the kids wanted to dye their own shirt). Next I pinched the center of the shirt and twisted in a clockwise direction. I continued to twist clockwise until the shirt was twisted into a round circle.

With the shirts in flat circles, I stretched rubber bands across each circle, overlapping to create small wedges.

In a large jug, I mixed 1 gallon of warm water with 1 cup of soda ash and added 5 shirts to the jug (I stacked them on top of each other and arranged my post it notes to tell me which shirt was where) and let them soak for 30 mins. Wear gloves while handling the soda ash, it can irritate your skin! After 30 minutes, I rang out the extra water and put each shirt in a gallon sized zip lock bag labeled with the child’s name. I repeated with a fresh batch of soda ash until all shirts were prepped and in bags. I let the wet shirts sit over night in the bags, and took them to school for dying the next morning.

Things I took to school on Tie Dye day
When it was time to go to school, I premixed the dye refills with water in condiment bottles, and then placed all the bottles in a snug fitting box. I also took 4 5 gallon buckets, 4 baking racks, disposable kid gloves, trash bags, baby wipes and all the shirt bags.
When I have lots of supplies to carry into the school at once, I always use my Beach Cart to help me carry things into the school!
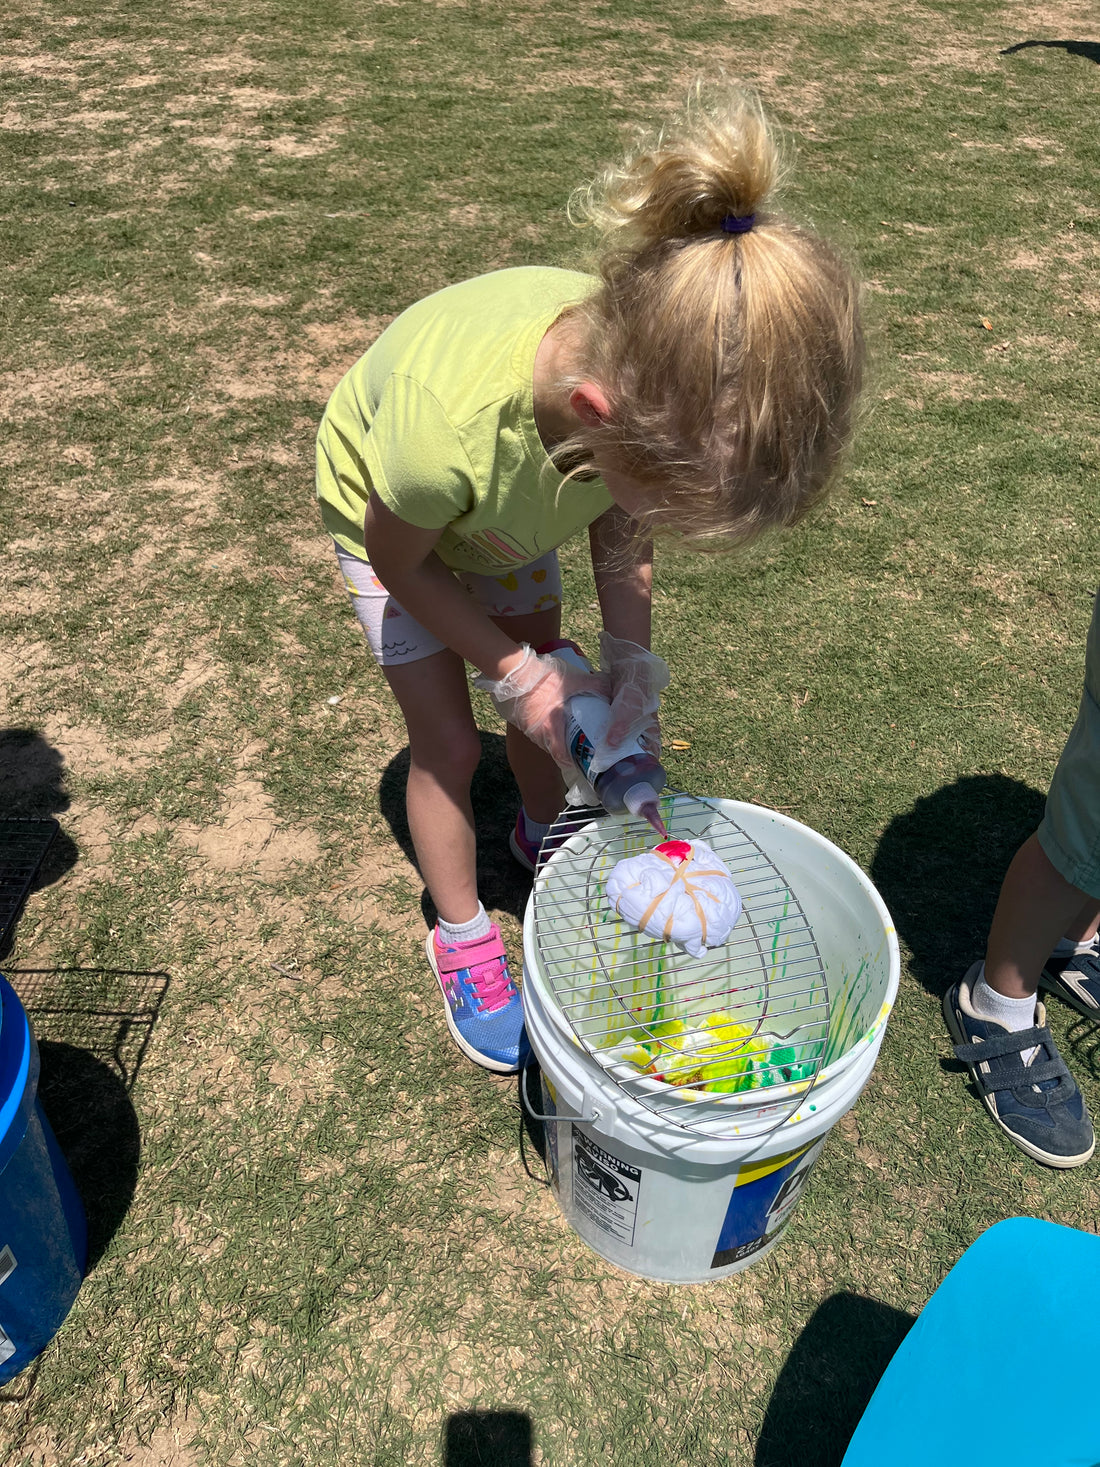
Dying the shirts
We set up the four 5 gallon buckets outside with a baking rack on top of each. This made cleanup super easy and prevented us from leaving dye all over the playground. We had 4 kids at a time come up to dye their shirts while the other kids played. I found the bag with their name on it, removed the shirt from the bag and saved the bag for when they were finished. We had the kids put disposable gloves on so they wouldn’t stain their hands. I sat their shirt on the baking rack and explained they could dye their shirt however they liked, but that if they alternated the red and yellow dye in the rubber band wedges, it would create a cool swirl effect on their shirt. After they had fully saturated one side of their shirt in dye, I flipped the shirt over on the baking rack and had them saturate the back in dye too. Using the baking rack meant the excess dye flowed down into the bucket and didn’t mix and pool on the shirt. Once both sides were fully saturated, I put their shirt back in the ziplock bag and took them home to soak and wash. We helped remove the disposable gloves and put them in a trash bag, and then had the kids wipe their hands with baby wipes before joining their classmates on the playground.

Soaking/Rinsing/Washing
After all the kids had dyed their shirts, I bagged everything up in extra trash bags (including the buckets) and took them home for washing.
The shirts look best when the dye can soak in for at least 24 hours and heat helps make the colors vibrant. It was a hot sunny day, so when I got home I sat out all the gallon sized ziplocks on my deck in the sun.
After 24 hours in the bag, I removed 1 shirt at a time, carefully cut off the rubber band and then rinsed the shirt in cold water until the water ran clear. Once all the shirts had been rinsed, I washed them in the washing machine with detergent and hot water and then dried them in the dryer.
The kids did a great job dying their shirts, each one was unique but they were all bright and vibrant! The class looked great on field day! 
**I have included affiliate links to the products I used and can receive a small commission if a purchase is made after you click on a link in this tutorial. All items used in this tutorial were purchased by me and I did not receive anything in exchange.
MagpieTayleetot is a participant in the
Amazon Services LLC Associates
Program, an affiliate advertising
program designed to provide a means
for sites to earn advertising fees by
advertising and linking to Amazon.com.