
I was throwing a glow-in-the-dark (or more so, glow-in-blacklight) party for my daughter's 8th Birthday! I wanted to make as many foods and drinks as possible glow during the party! My daughter always gets super excited about anything that glows in the dark and I knew she would flip if I could make some food glow!
I made cakesicles recently for my oldest daughter's Groovy Grad Party ; they were a huge hit with the younger kids! They look like popsicles, but taste like cake pops! I knew the kids would think they were even cooler if I could make some glow for this glow party!
If you want to make cakesicles for a different theme and don't want them to glow, follow along and skip the step that adds glow-in-the-dark food dye!
Tools and Supplies Needed
Cake (you can use a store-bought cake, bake your own, or use scraps after leveling a couple of cakes) any flavor (I used a homemade funfetti cake for these)
Frosting (I used my favorite homemade buttercream frosting, but you can even use store-bought)
White Candy Melts (or a different color if you aren't making yours glow)
Popsicle Sticks
Piping Bags or squeeze bottles
Directions
In a large bowl, crumble your cake into crumbs. Add a couple of tablespoons of frosting to your crumbs.

Mix until everything comes together into a dough. You can add more frosting as needed if you still have crumbs but do not add too much, just enough to make all the crumbs stick together.

Set the cake dough aside, and prepare the candy melts. I like to melt mine in a Disposable Piping Bag, it makes clean-up fast and easy. I placed the piping bag inside a tall cup and added the white candy melts inside the bag. Microwave on 50% power for 60 seconds and then stir the candy melts (I just squeeze the outside of the bag to stir). Return to the microwave and microwave on 50 percent power in 30-second increments until all the candy is melted and smooth. (This took me approx 3 minutes total).
Once your candy is smooth, you are ready to add dye! You can not dye candy melts with traditional food dye, the water inside traditional food dye will cause the chocolate to seize, but this Neon Glow Food Coloring is a powder, and works great for dying candy melts.
I added 1/4 of a teaspoon of the dye to the bag and squeezed the bag to mix in the dye. To ensure the dye was fully blended, I stirred inside the bag with a disposable bamboo skewer.

I took my bag to a dark closet and checked to make sure it was UV-reactive using a Blacklight Flashlight. Once I confirmed the color was glowing, I cut off the tip of the piping bag.

Squirt some of the melted candy into the Silicone Popsicle Molds. You have a couple of options for spreading the candy around the inside of the mold. You can use a food-grade paint brush to paint the walls of the mold or spread it around with a spoon.

My preferred technique is to squirt candy all around the cavity of the mold and then squish and squeeze the silicone mold until all the walls are coated.

As soon as the individual walls are coated and while the candy melts are still soft and wet, insert the tip of your popsicle stick into the hole. At this time, you just want to barely insert the stick. This keeps the hole for the stick open without blocking the inside of the cavity before you fill it with cake later. 
Once you have coated the inside of all four, place the silicone mold in the refrigerator for 5 to 10 minutes to set up. The silicone molds I purchased, come with 2 separate molds, so while one is setting up in the fridge, I coat the second set in candy melts. The time it takes me to fill and coat the second set is just enough time in the fridge for the first set.
After your shell has firmed up (5 to 10 minutes in the fridge), you are ready to fill with the cake dough you prepped in step one.
Tightly press in the cake mixture until the mold is slightly less than full. While applying a little counter pressure to the mold above the stick (I press the mold downward while pressing the stick upward), press your stick all the way into the mold. You want to be gentle so the thin layer of chocolate doesn't break around the stick.
After filling all four molds with the cake mixture and fully inserting the sticks, return the mold to the refrigerator for 5 to 10 minutes. If you have two sets of molds, now is a great time to fill the second set with the cake mixture.

After a brief rest in the fridge, you are ready to cover the back in candy melts. If the candy melts in the bag have firmed up a bit, return them to the microwave and microwave for 30 seconds at 50 percent power. If you are using the piping bags, curl up the bottom of the bag before microwaving so the candy doesn't flow out of the hole in the tip of the bag.
I pipe the candy melts around the outer edges of the mold, making sure the new melted candy touches the edge of the candy that has already been set up. After the edges have been piped, I fill the center with enough candy melts to fully cover the cake.
Place the mold back into the refrigerator for about 20 minutes to fully harden.

After 20 minutes you can remove your cakesicle from the mold by pulling the mold back and pressing the stick through the hole.
I always serve these sitting flat on a platter, and no one has ever flipped one around to look at the bottom, but if you want to smooth the bottom of your cakesicle, you can use a vegetable peeler to shave the chocolate smooth.
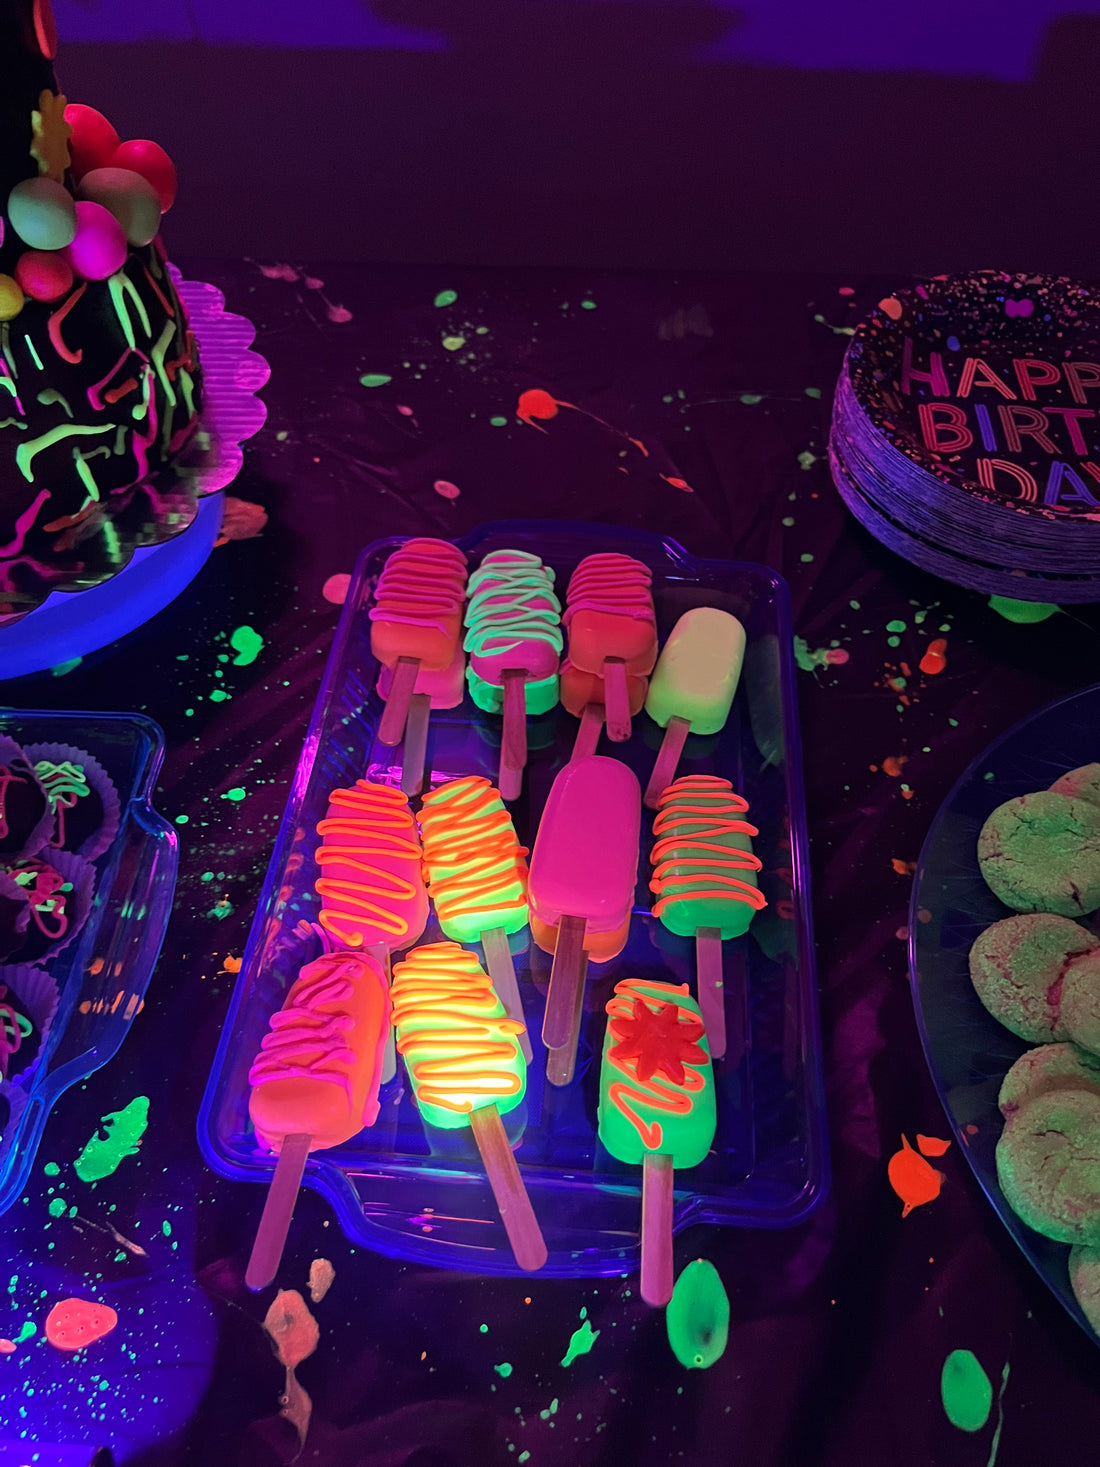
These look fantastic right out of the mold, and I always leave a few smooth and plain when making these. If you want to decorate them further, you can add a drizzle of candy melts in another color. You can also attach sprinkles or other edible decals using a little bit of candy melts as glue.

I had some left over fondant pieces after making the cake for this party, so I added a few of them to my cakesicles as well!
For my daughter's Groovy Grad party, I made candy decals using candy melts and silicone molds.

These looks great plain (I love that they are smooth and shiny) or dressed up with extra details! The kids loved them…they glowed and food on a stick is always more fun! 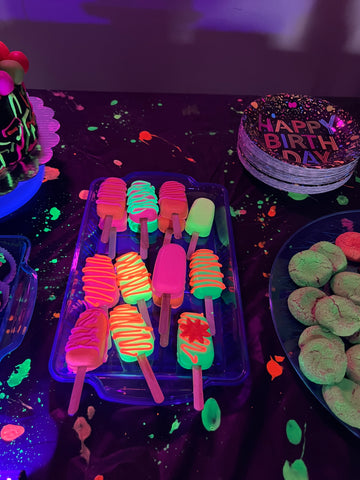
For more ideas and Glow Party DIY be sure to check out my Glow Party Comprehensive Guide where I share lots of decor and recipe ideas that would be perfect for your next Glow Party!
**I have included affiliate links to the products I used and can receive a small commission if a purchase is made after you click on a link in this tutorial. All items used in this tutorial were purchased by me and I did not receive anything in exchange.
MagpieTayleetot is a participant in the
Amazon Services LLC Associates
Program, an affiliate advertising
program designed to provide a means
for sites to earn advertising fees by
advertising and linking to Amazon.com